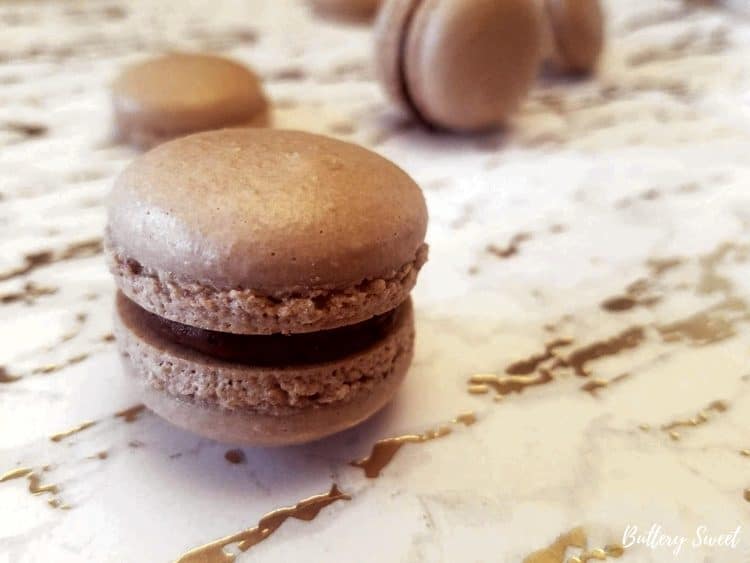
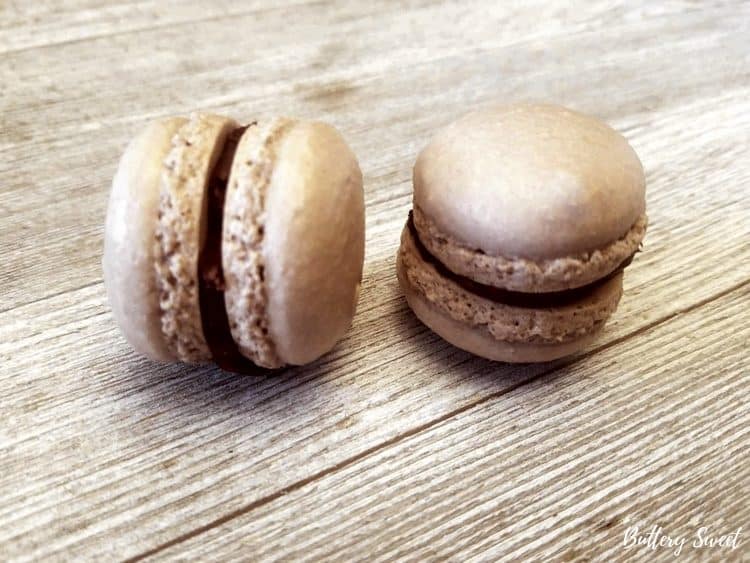
Oh Nutella.. Everyone's favorite hazelnut spread. I have gotten a few requests for these little babies and I am SO glad I made them! They are pretty scrumptious! Adding a little cocoa powder to the mac shells and filling it with chocolaty Nutella goodness, how can you go wrong??? Let's get to it shall we??
Ingredients:
FOR THE MACS
150 grams almond flour (I use Bob's Red Mill, if you have a Sam's club near you it is A LOT cheaper to buy in bulk!)
150 grams powdered sugar
2 tbsp cocoa powder
110 grams egg whites divided into two containers (55 grams per container)
150 grams granulated sugar
38 grams water
crushed hazelnuts (optional) for topping
FOR THE FILLING
1 cup dark chocolate
1/2 cup cream
2 tbsp Nutella
SPECIAL EQUIPMENT
scale that measures in grams
sifter or food processor
silicon baking mat (optional) - if you do not have one, I recommend getting one! They are amazing, however, parchment paper will work just fine 🙂
piping bag/tips - again this is optional, if you wanted you can just use a zip top bag 🙂
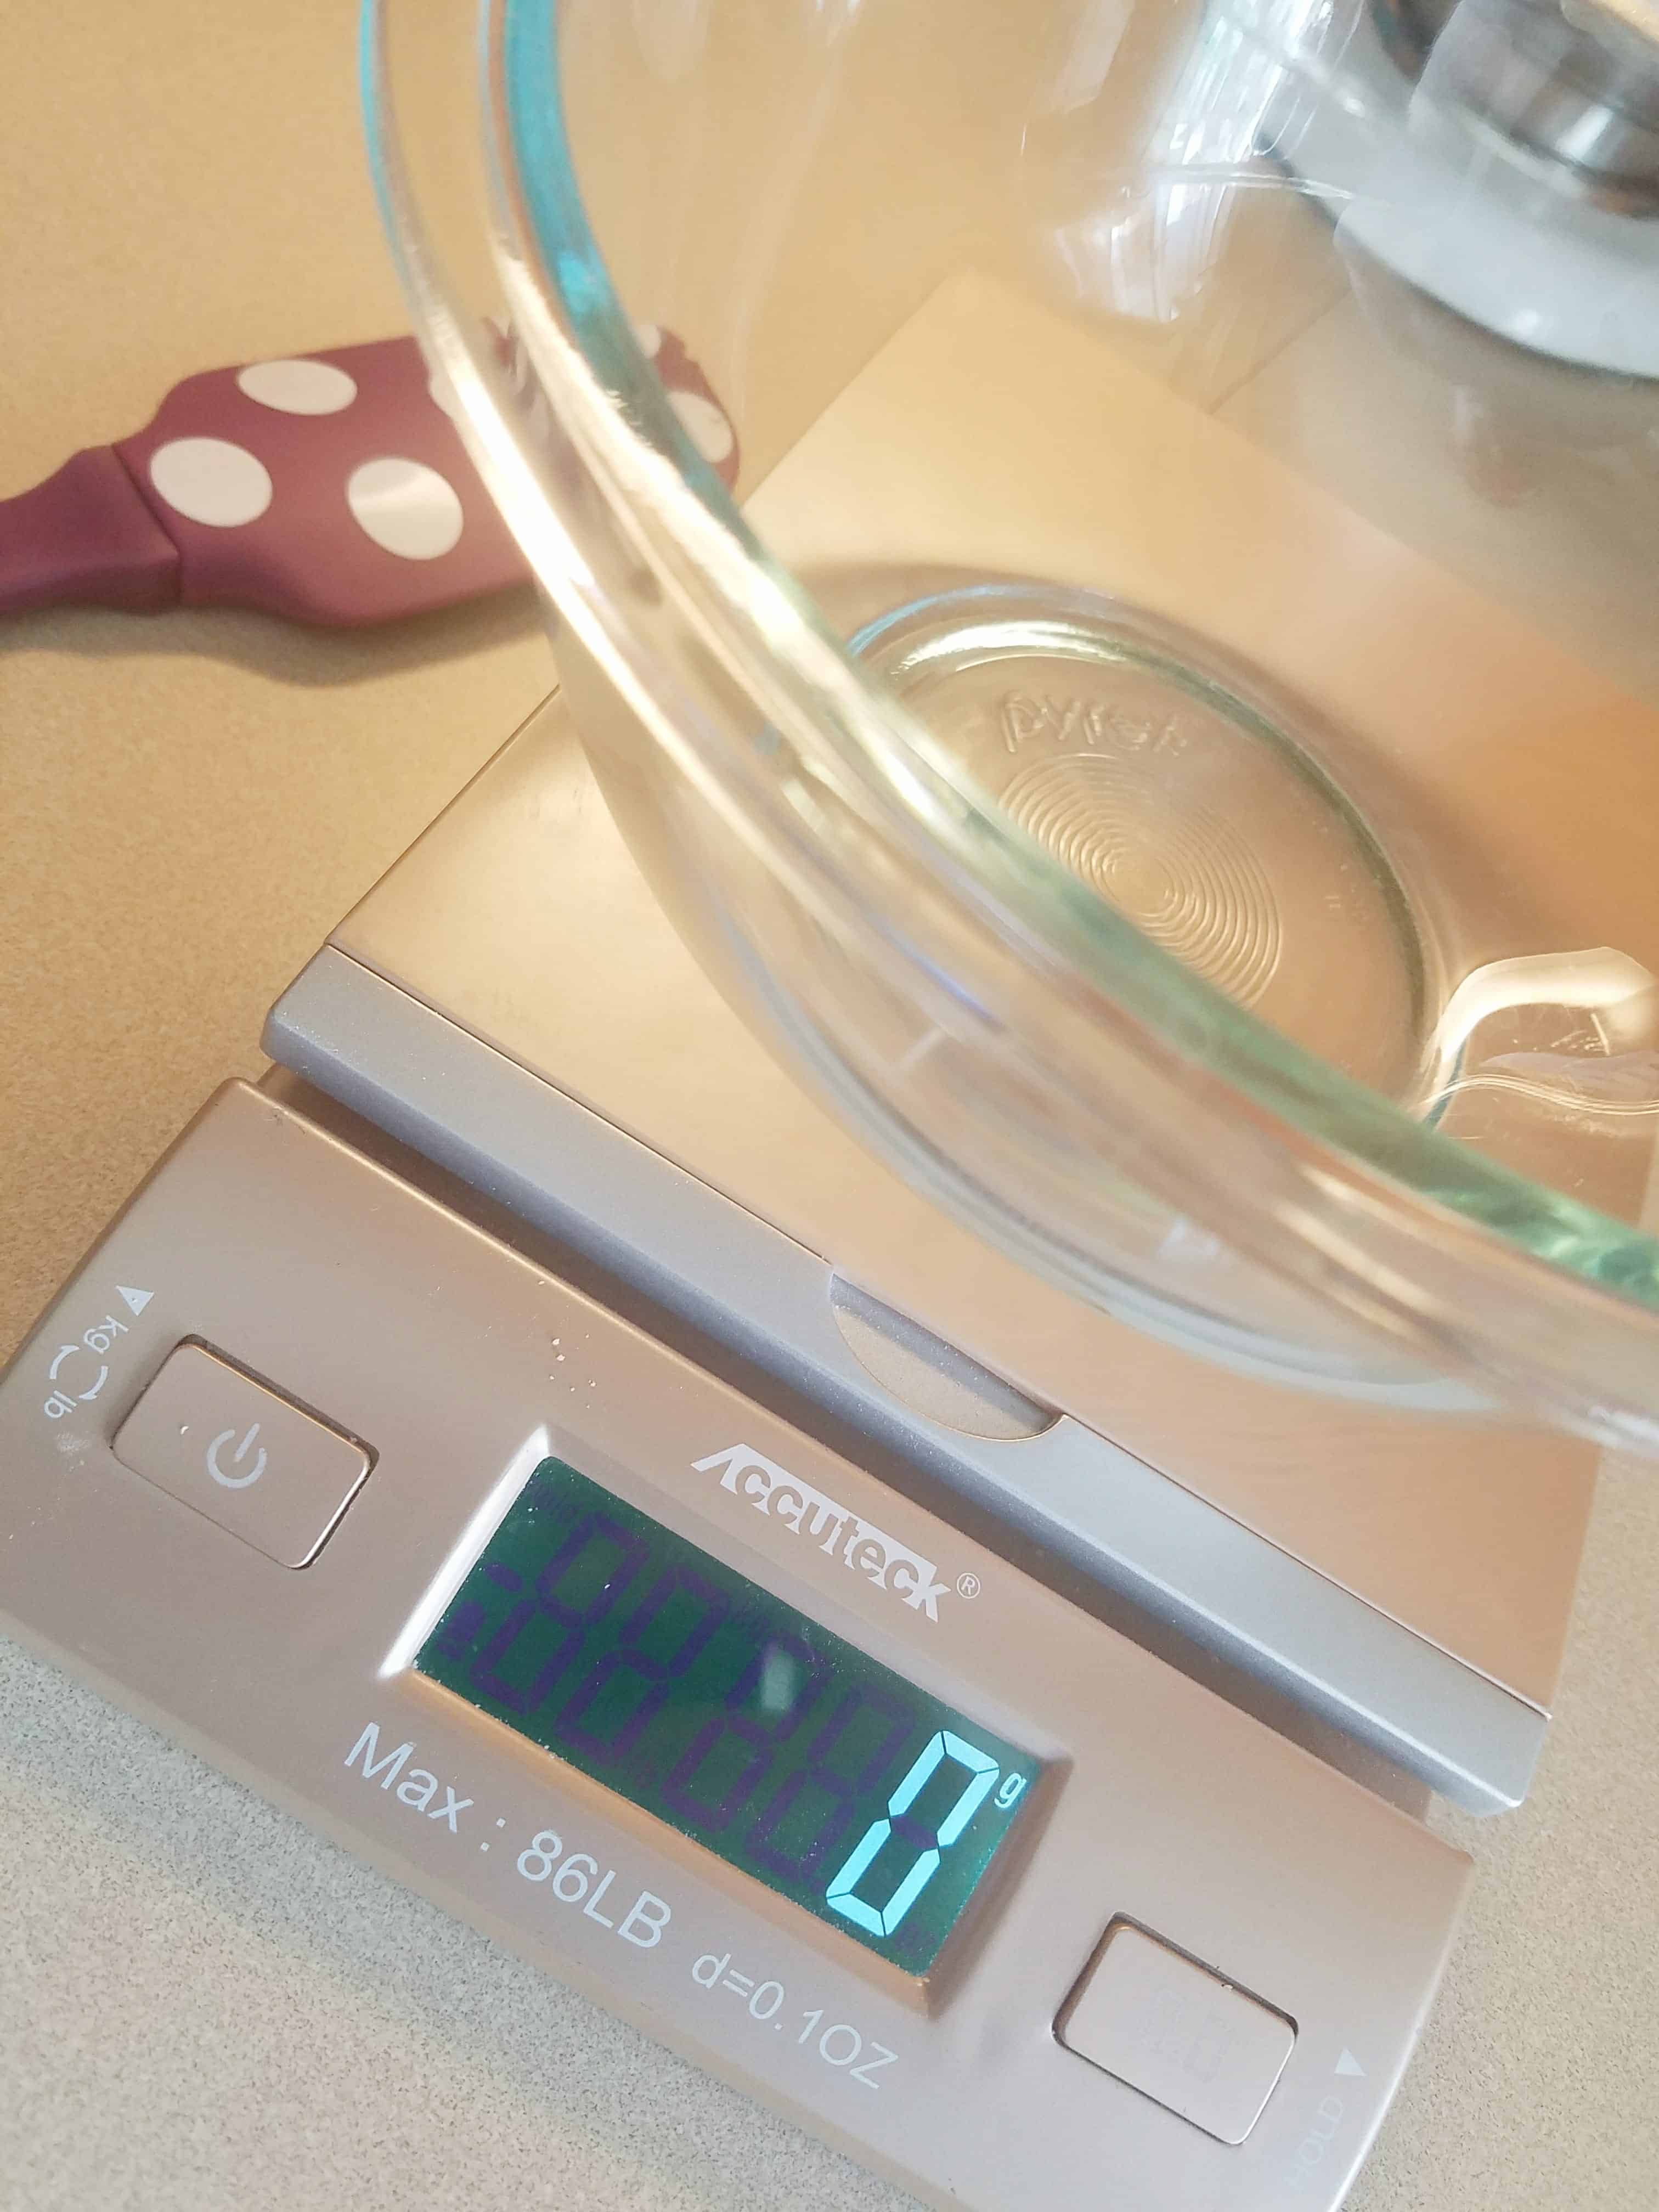
First and foremost, be sure to weigh out your ingredients and get everything prepared before you begin. It is very important to weigh everything out exactly.
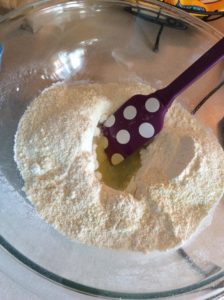
1.Weigh out your almond flour, powdered sugar, and tablespoon of cocoa powder and sift together. You can also pop this into a food processor and pulse until there are no lumps. This will help get that nice smooth shell.
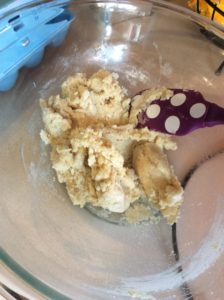
2. Next, make a well in the middle of the sifted mixture and add in your first batch of egg whites (55 grams). (Just as a side note, NO, I do not age my egg whites. I bring them up to room temp and that is really it. If you wish to age yours, feel free, just leave your egg whites in the fridge for a day or more; this will allow the proteins to break down. But I don't feel it's really necessary.) Anyway.... Fold in the egg whites. At first it will seem like there is not enough wet to dry ingredients, but keep folding, and it will come together, I promise! Make sure all of the dry ingredients are combined and form a paste. Cover with a lid or plastic wrap and set aside.
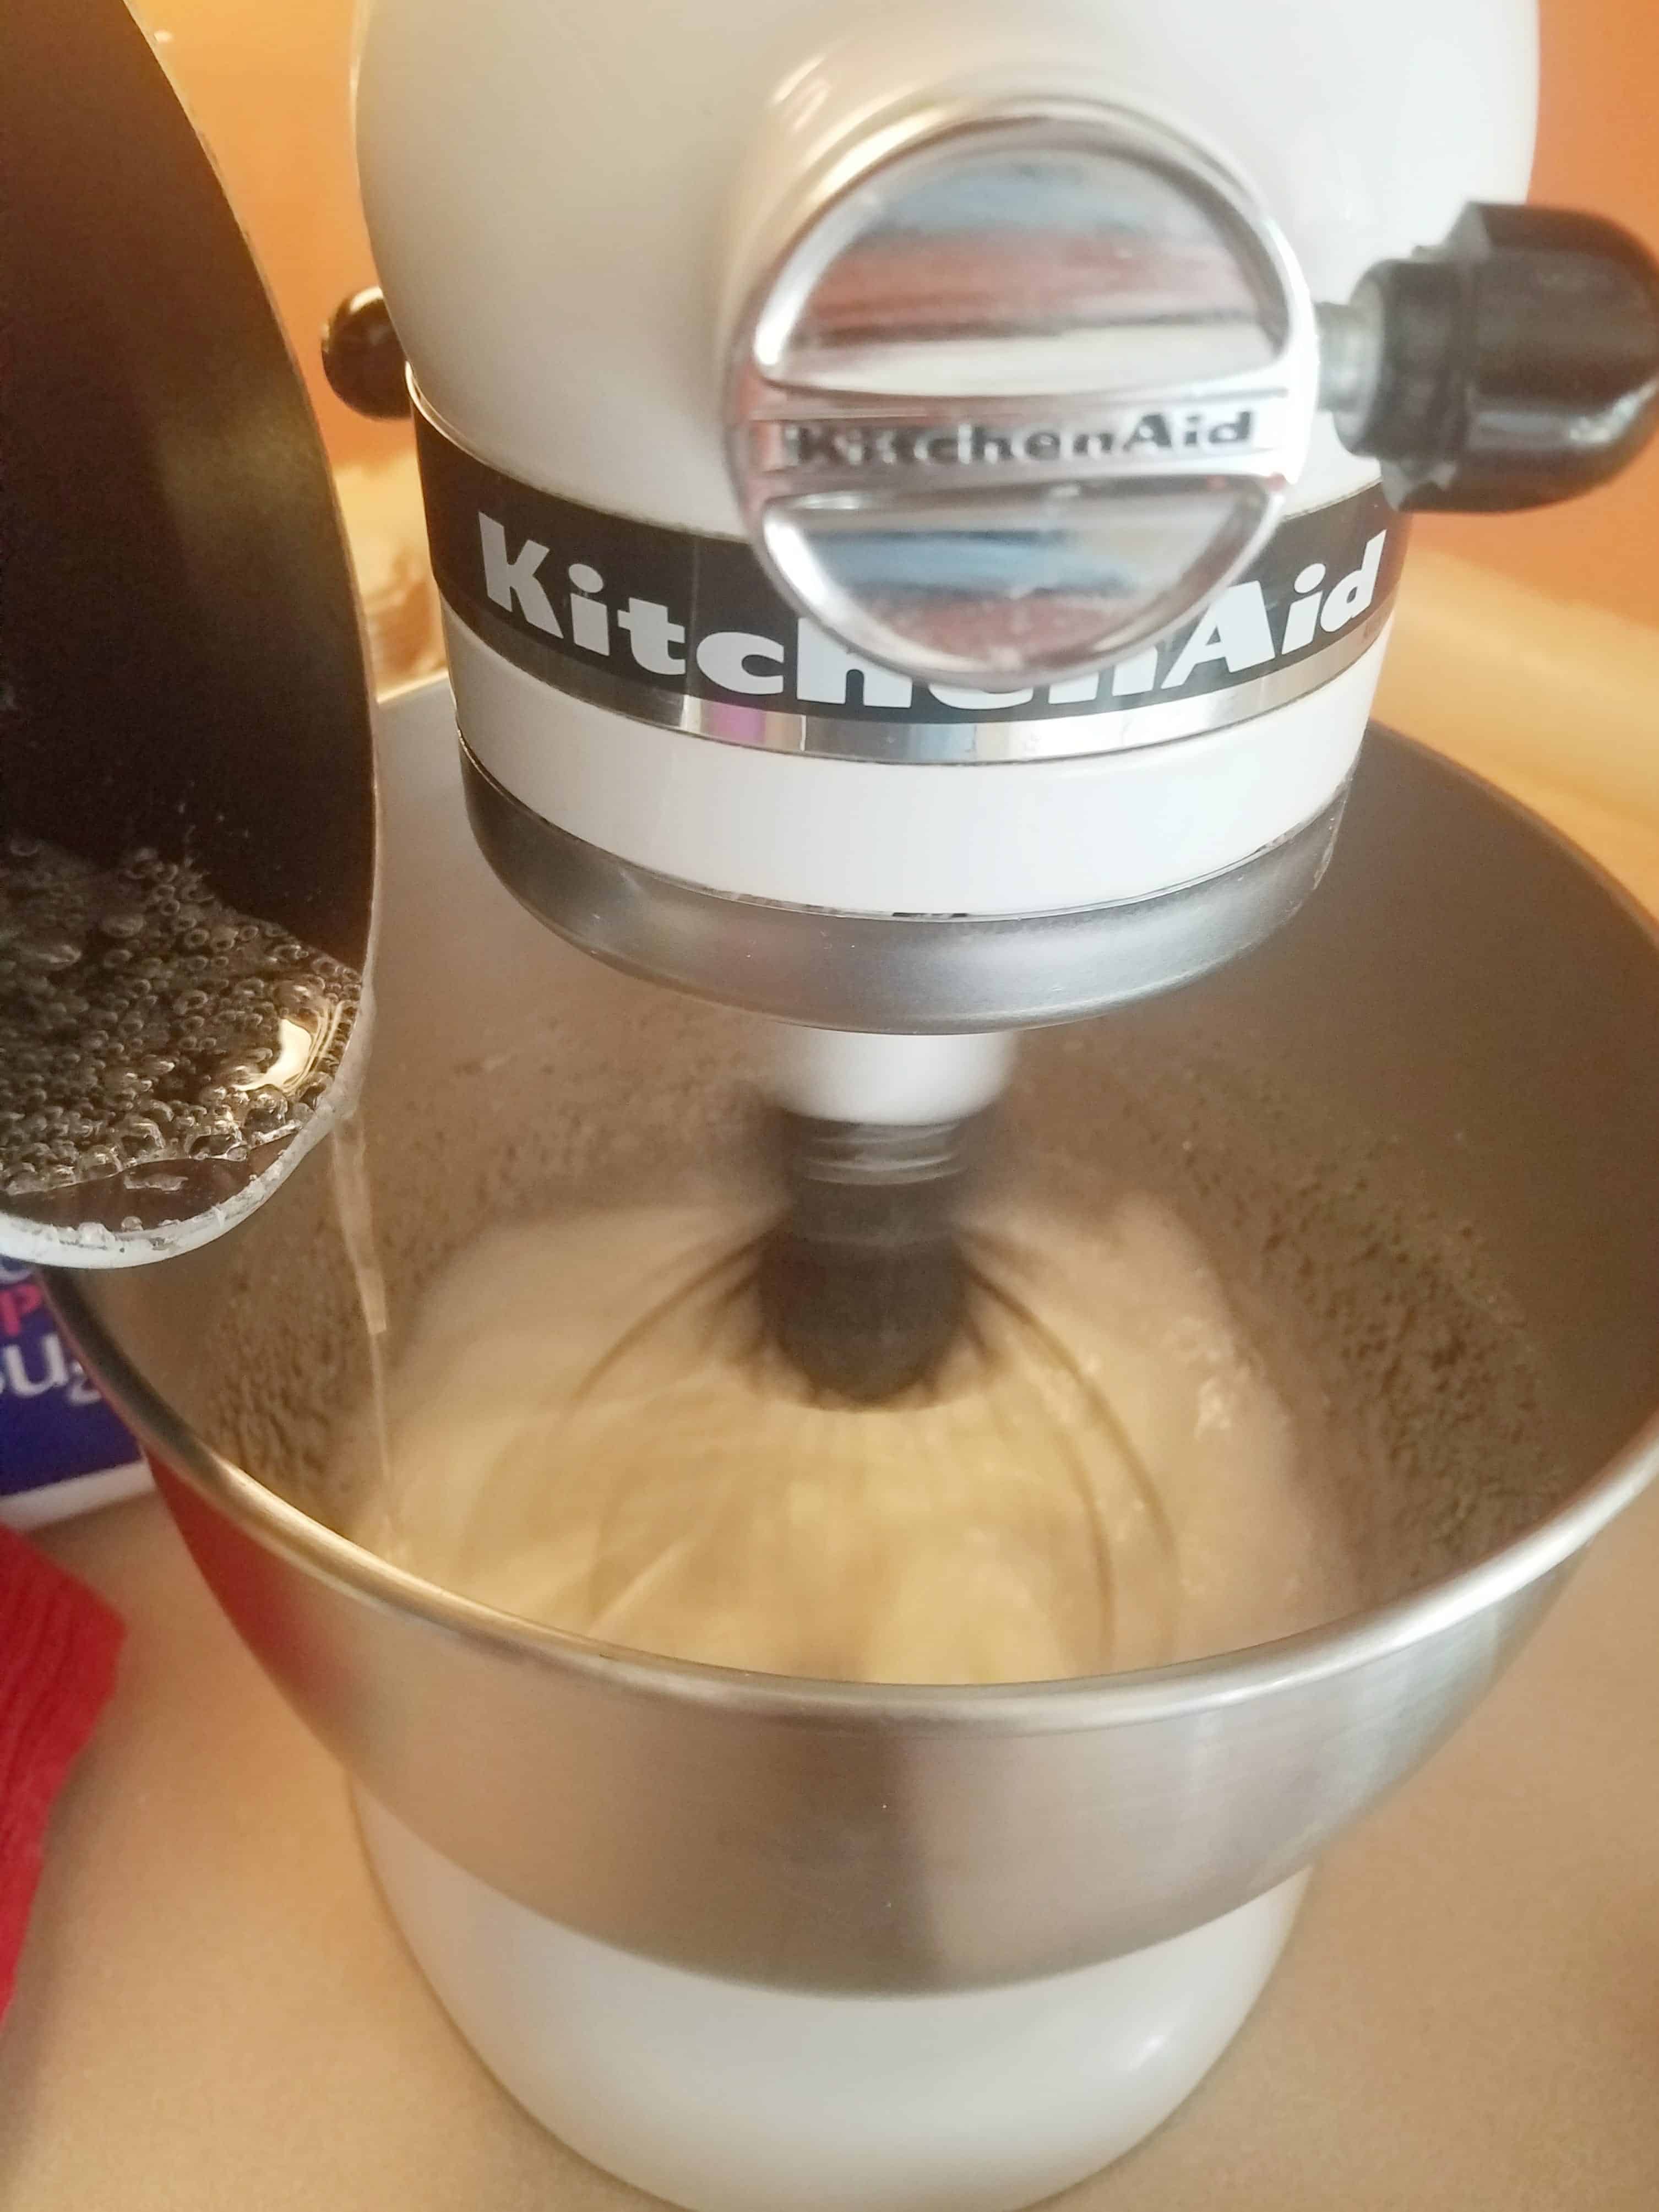
3. Add in the second batch of egg whites into a stand mixer with a whisk attachment and just let it be for now.
4. Next, you want to make your syrup. Combine the sugar and water in a sauce pan and turn on med-high heat. Add in your thermometer and keep a close eye on the temp! Have a pastry brush handy with some water so you can brush the sugar crystals off the side.
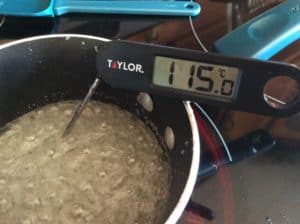
5. When the syrup reaches 115 degrees Celsius, turn your stand mixer on with the egg whites on medium speed.
6. When the syrup reaches 118 degrees Celsius (which will happen fast so keep a close eye on your thermometer). Take it off the heat and set a timer for 6 minutes. Then SLOWLY pour the syrup in the egg whites. The egg whites should double in size.
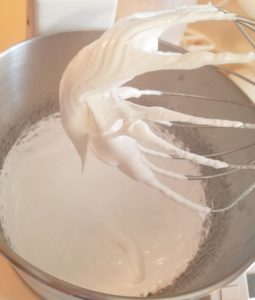
7. Beat the egg whites for exactly 6 minutes! You should have a stiff peak when you are finished. You should be able to hold the bowl above your head and not have anything come out.
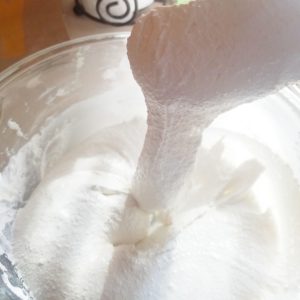
8. Add half of the meringue mixture to your almond mixture you made earlier. FOLD in the meringue until it comes together. This is another important part. Make sure you are folding, going around the bowl and through the middle. This helps get the air bubbles out of your batter. Add in the remaining meringue and fold until you get to the ribbon stage (below). Make sure you check often! Because it is very easy to over mix! The batter should flow off of your spatula and disappear within 10 seconds. (I am using a photo from another recipe, with this recipe this stage will look brown.)
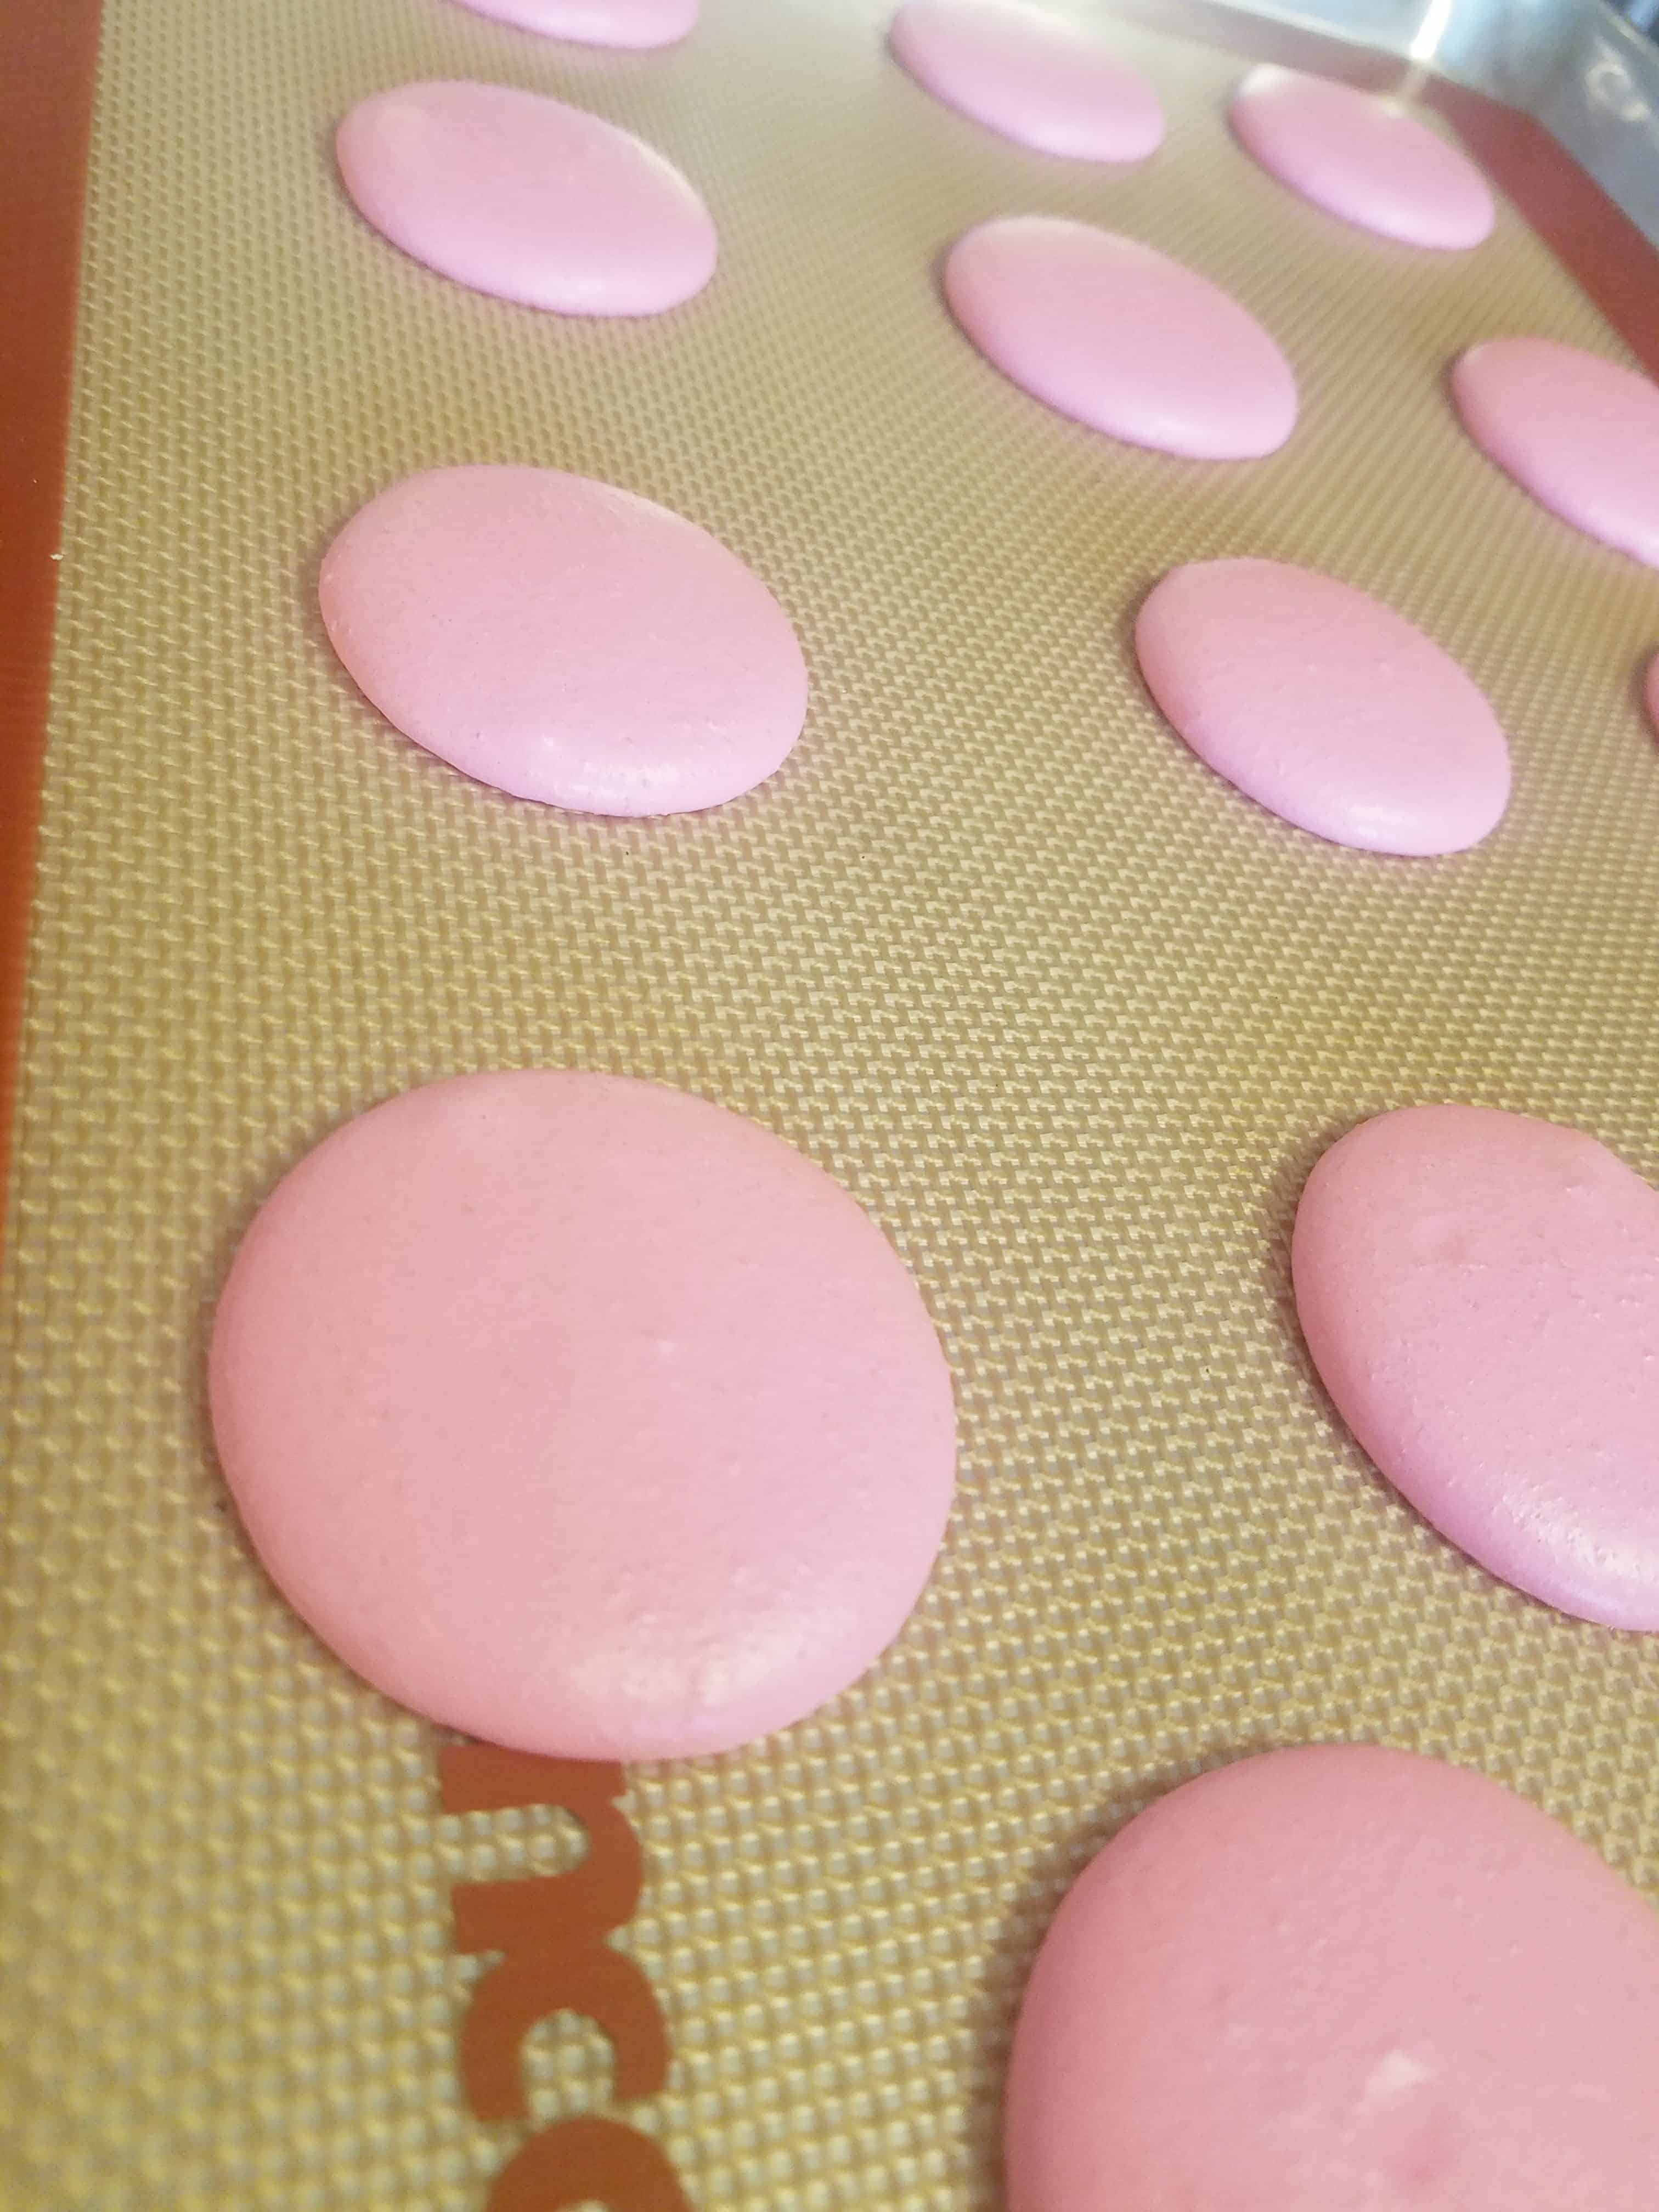
9. Now we are ready to pipe some macs!! This is where the silicon mat comes in handy. Like I said above it is not mandatory, however it is very helpful in helping the macarons bake evenly. Add your batter into a bag fitted with a small round tip. Pipe rounds about 3 cm leaving space in between as they will flatten out a bit. After you are finished piping, tap the tray against the counter 3 or 4 times to remove all air bubbles. If you mixed the batter correctly there should be little to none. If you wish to, add crushed hazelnuts to the tops here. (Again, I am using another photos, yours will obviously not be bright pink :P)
10. Let the macarons sit for at least 30 minutes or until they form their "shell". The time may vary depending on your climate. If it is more humid in your area, you may have to let them sit longer. They should not be sticky at all to the touch before you bake. At this point, preheat your oven to 350 degrees F.
11. After the 30 minutes, bake one tray at a time for 12 minutes. To check if they are done, touch the top of the cookie and if the top moves around on the bottom "feet" then they are not done. Place back in the oven for one minute intervals! Only one minute at a time or they will burn.
12. After they are done, let them cool completely before filling them.

13. Now it is time to make the filling. Combine the chocolate and cream in a microwave safe bowl, and microwave for 30 seconds. Take out and mix. If the chocolate is not completely melted, pop back in the microwave for 30 second intervals. After it is completely melted, put it in the fridge to harden up. (about 15 minutes or so). After 15 minutes, take out of the fridge and whip with either a hand mixer or add to your stand mixer. Add in the Nutella and whip until light and fluffy! Add your filling into a piping bag with a small round tip, and add a little Nutella into a separate piping bag.
14. Once the shells are cool, using your chocolate filling, make a circle around the outside of one shell, add a little Nutella in the middle, and sandwich together with another shell! Continue until you run out of shells!
15. Refrigerate in an air-tight container for 24-48 hours. They are always better when the shell has "set". But in my house, they never last that long!
Be sure to pin for later! Comment below to let me know how they turned out for you!! Also, if you have any requests for other flavors, let me know!

Here are some other popular macarons for you to try!

Strawberry Cheesecake Macarons


Leave a Reply